HTTP Scaling with Kubernetes Gateway API
This guide demonstrates how to scale applications exposed through the Kubernetes Gateway API based on HTTP traffic. You’ll deploy a sample application, configure the necessary Gateway API resources (Gateway, HTTPRoute), deploy a KEDA ScaledObject, and observe how Kedify automatically manages traffic routing for efficient load-based scaling—including scale-to-zero when there’s no demand.
Architecture Overview
For applications exposed via the Gateway API, Kedify utilizes its autowiring feature. When using the kedify-http scaler with Gateway API resources, traffic flows similarly to other ingress methods, with Kedify intercepting traffic for scaling purposes:
Gateway -> HTTPRoute -> kedify-proxy -> Service -> Deployment
The kedify-proxy intercepts traffic directed by the HTTPRoute, collects metrics based on hosts and paths defined in the ScaledObject, and enables informed scaling decisions. When traffic increases, Kedify scales your application up; when traffic decreases, it scales down—even to zero if configured. Kedify automatically modifies the HTTPRoute backend references to point to the kedify-proxy.
Prerequisites
- A running Kubernetes cluster (local or cloud-based).
- The
kubectlcommand line utility installed and accessible. - Connect your cluster in the Kedify Dashboard.
- If you do not have a connected cluster, you can find more information in the installation documentation.
- Install hey to send load to a web application.
Step 1: Install and Configure Envoy Gateway
Install Envoy Gateway:
helm upgrade --install eg oci://docker.io/envoyproxy/gateway-helm --version v1.1.0 -n envoy-gateway-system --create-namespaceConfigure Envoy Gateway:
kubectl wait --for=condition=Available --namespace envoy-gateway-system deployment/envoy-gateway --timeout=5mCreate GatewayClass:
kubectl apply -f gateway-class.yamlThe GatewayClass YAML:
apiVersion: gateway.networking.k8s.io/v1kind: GatewayClassmetadata: name: egspec: controllerName: gateway.envoyproxy.io/gatewayclass-controllerCreate Gateway:
kubectl apply -f gateway.yamlThe Gateway YAML:
apiVersion: gateway.networking.k8s.io/v1kind: Gatewaymetadata: name: eg namespace: envoy-gateway-systemspec: gatewayClassName: eg listeners: - name: http protocol: HTTP port: 80 allowedRoutes: namespaces: from: AllStep 2: Deploy Application and Gateway API Resources
Deploy the sample application, its Service, a Gateway, and an HTTPRoute to your cluster:
kubectl apply -f application.yamlThe combined application YAML:
apiVersion: apps/v1kind: Deploymentmetadata: name: applicationspec: replicas: 1 selector: matchLabels: app: application template: metadata: labels: app: application spec: containers: - name: application image: ghcr.io/kedify/sample-http-server:latest imagePullPolicy: Always ports: - name: http containerPort: 8080 protocol: TCP env: - name: RESPONSE_DELAY value: '0.3'---apiVersion: v1kind: Servicemetadata: name: application-servicespec: ports: - name: http protocol: TCP port: 8080 targetPort: http selector: app: application type: ClusterIP---apiVersion: gateway.networking.k8s.io/v1kind: HTTPRoutemetadata: name: application-httproutespec: parentRefs: - name: eg namespace: envoy-gateway-system hostnames: - 'application.keda' # The hostname for accessing the application rules: - matches: - path: type: PathPrefix value: / backendRefs: - name: application-service # Forwards traffic to the application Service port: 8080Deployment: Defines the simple Go-based HTTP server application.Service: Provides internal routing to the application Pods.HTTPRoute: Defines routing rules. It attaches to the Envoy Gateway (eg) in theenvoy-gateway-systemnamespace, matches requests for the hostapplication.keda, and forwards traffic to theapplication-serviceon port8080. Kedify will automatically update thebackendRefsof this resource to point to thekedify-proxywhen autowiring is active.
Step 3: Apply ScaledObject to Autoscale
Now, apply the following ScaledObject to enable autoscaling based on HTTP traffic routed via the Gateway API:
kubectl apply -f scaledobject.yamlThe ScaledObject YAML:
kind: ScaledObjectapiVersion: keda.sh/v1alpha1metadata: name: applicationspec: scaleTargetRef: apiVersion: apps/v1 kind: Deployment name: application cooldownPeriod: 5 minReplicaCount: 0 # Enable scale-to-zero maxReplicaCount: 10 fallback: failureThreshold: 2 replicas: 1 advanced: restoreToOriginalReplicaCount: true horizontalPodAutoscalerConfig: behavior: scaleDown: stabilizationWindowSeconds: 5 triggers: - type: kedify-http metadata: hosts: application.keda # Must match the hostname in HTTPRoute service: application-service # The backend service name port: '8080' # The backend service port scalingMetric: requestRate targetValue: '1000' # Target requests per second per replica granularity: 1s window: 10s trafficAutowire: httproute # Explicitly enable autowiring for HTTPRoutetype(kedify-http): Specifies the Kedify HTTP scaler.metadata.hosts(application.keda): The hostname defined in theHTTPRouteto monitor for traffic.metadata.service(application-service): The Kubernetes Service associated with the application deployment.metadata.port(8080): The port on the service to monitor.metadata.scalingMetric(requestRate): The metric used for scaling decisions.metadata.targetValue(1000): Target request rate. KEDA scales out when the rate per replica exceeds this value.metadata.trafficAutowire(httproute): This explicitly enables Kedify’s autowiring feature forHTTPRouteresources. Kedify will manage thebackendRefsin the correspondingHTTPRouteto route traffic via thekedify-proxy.
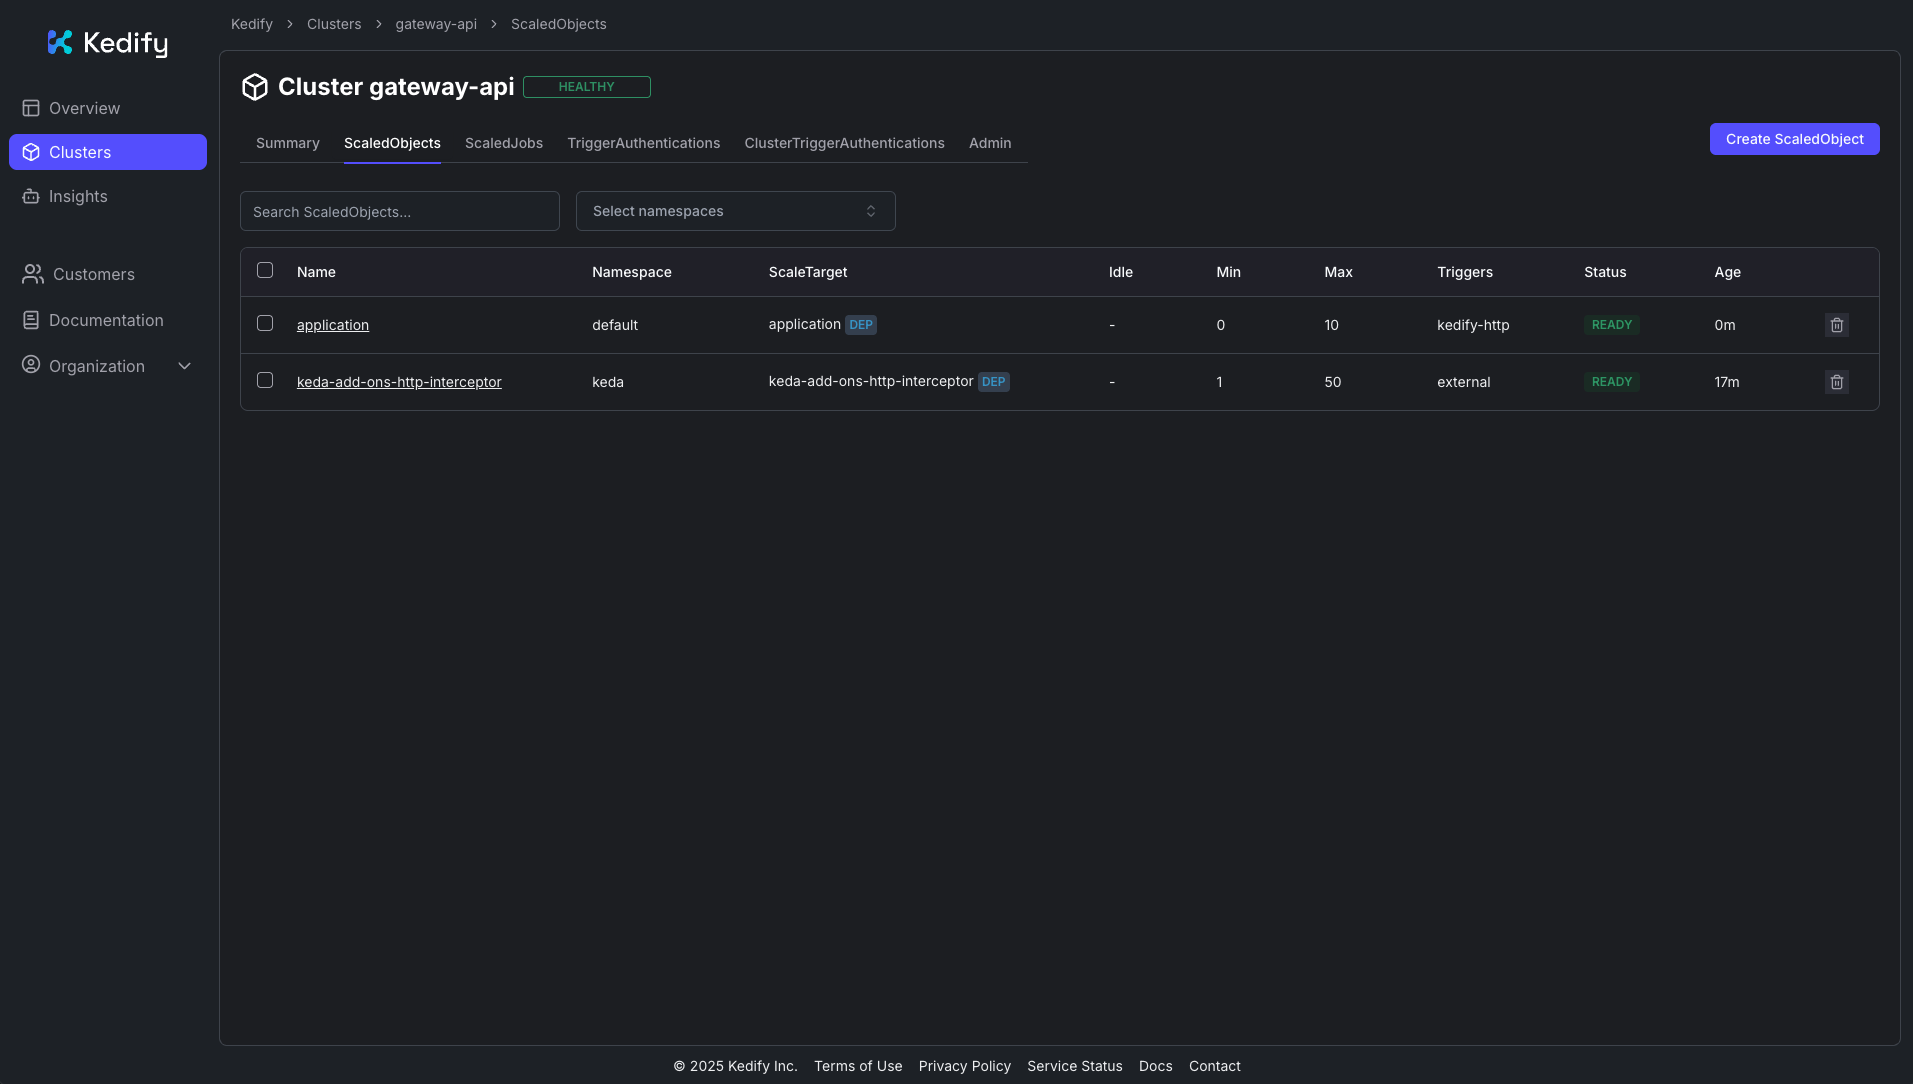
You should see the ScaledObject appear in the Kedify Dashboard:
Step 4: Test Autoscaling
First, let’s verify that the application is accessible through the Gateway:
curl -I -H "Host: application.keda" http://localhost:9080If everything is correctly configured, you should receive a successful HTTP response:
HTTP/1.1 200 OKcontent-length: 320content-type: text/htmldate: Tue, 29 Apr 2025 08:55:40 GMTx-keda-http-cold-start: truex-envoy-upstream-service-time: 6104server: envoyNow, let’s simulate higher load using hey:
hey -n 10000 -c 150 -host "application.keda" http://localhost:9080After sending the load, you’ll see a response time histogram in the terminal:
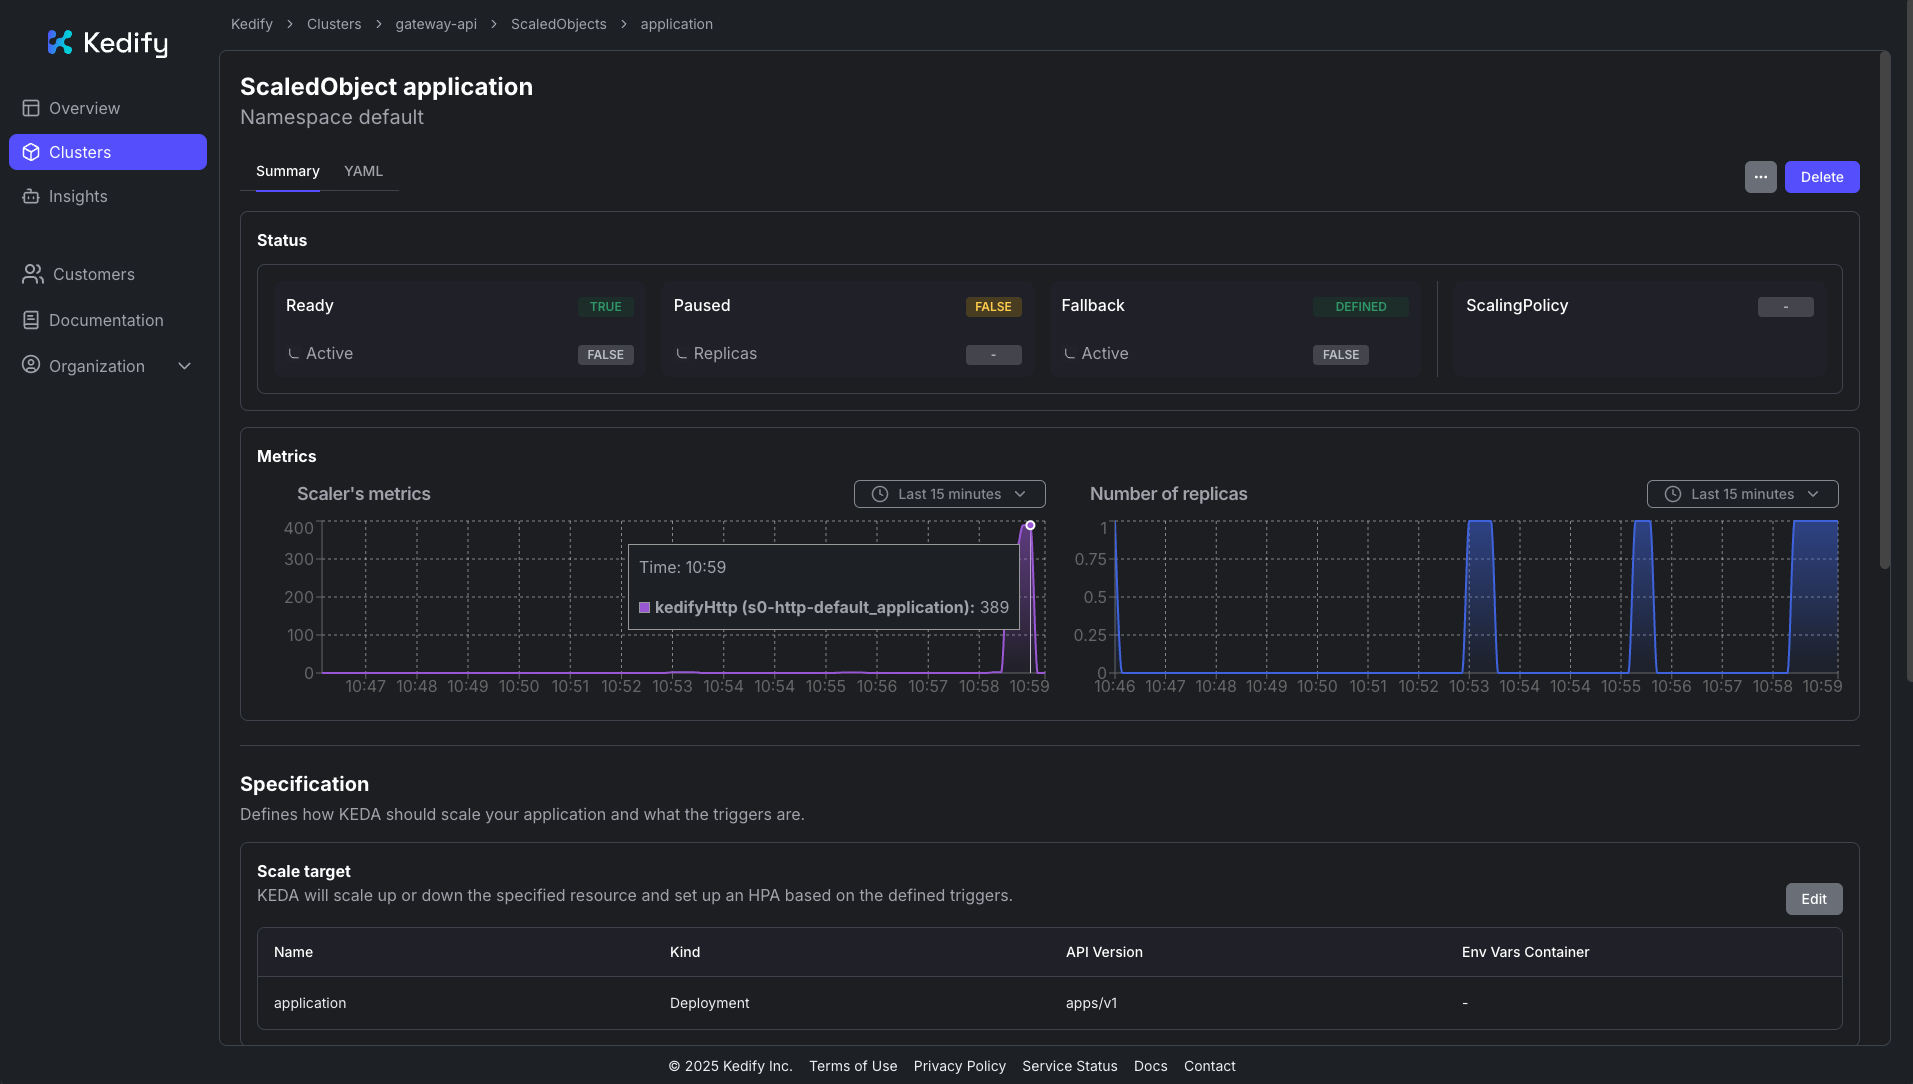
Response time histogram: 0.301 [1] | 0.310 [2746] |■■■■■■■■■■■■■■■■■■■■■■■■■■■■■■■ 0.319 [3499] |■■■■■■■■■■■■■■■■■■■■■■■■■■■■■■■■■■■■■■■■ 0.327 [2694] |■■■■■■■■■■■■■■■■■■■■■■■■■■■■■■■ 0.336 [683] |■■■■■■■■ 0.345 [99] |■ 0.354 [20] | 0.362 [1] | 0.371 [23] | 0.380 [37] | 0.389 [80] |■In the Kedify Dashboard, you can also observe the traffic load and resulting scaling:
Next steps
You can explore the complete documentation of the HTTP Scaler for more advanced configurations and details about its architecture and features, including autowiring for various ingress types.